
When running a deployment on a website, whether it be a small change or new website launch, if the website is behind a Sucuri firewall follow these steps to switch over.
Login to Sucuri
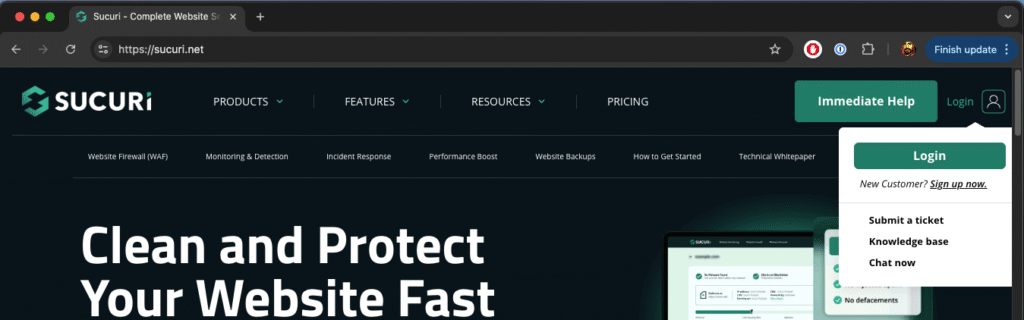
Navigate to Firewall
Search for the website you want to switch to maintenance mode.
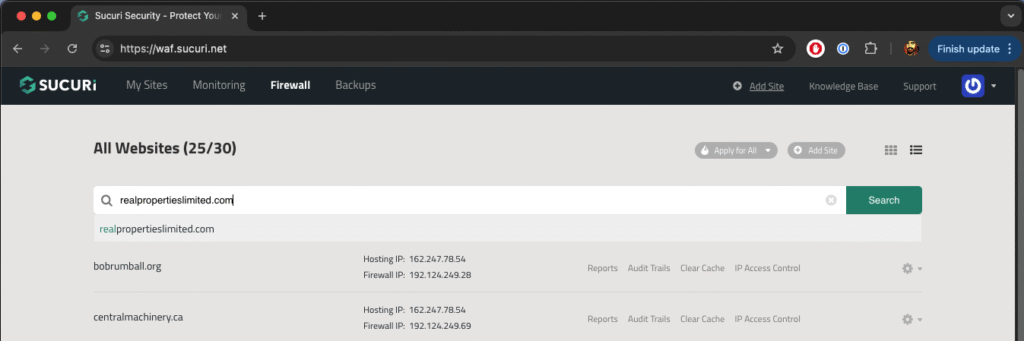
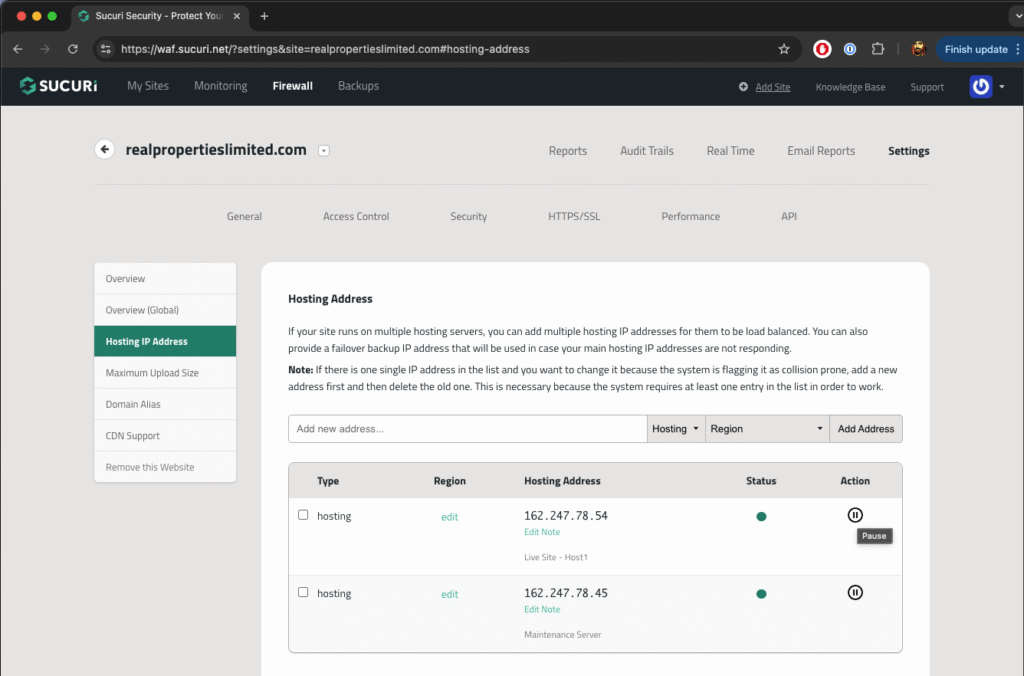
Navigate to “Hosting IP Address”
When you arrive to the firewall settings for the selected website, you’ll see a link to “Hosting IP Address”, navigate to that.
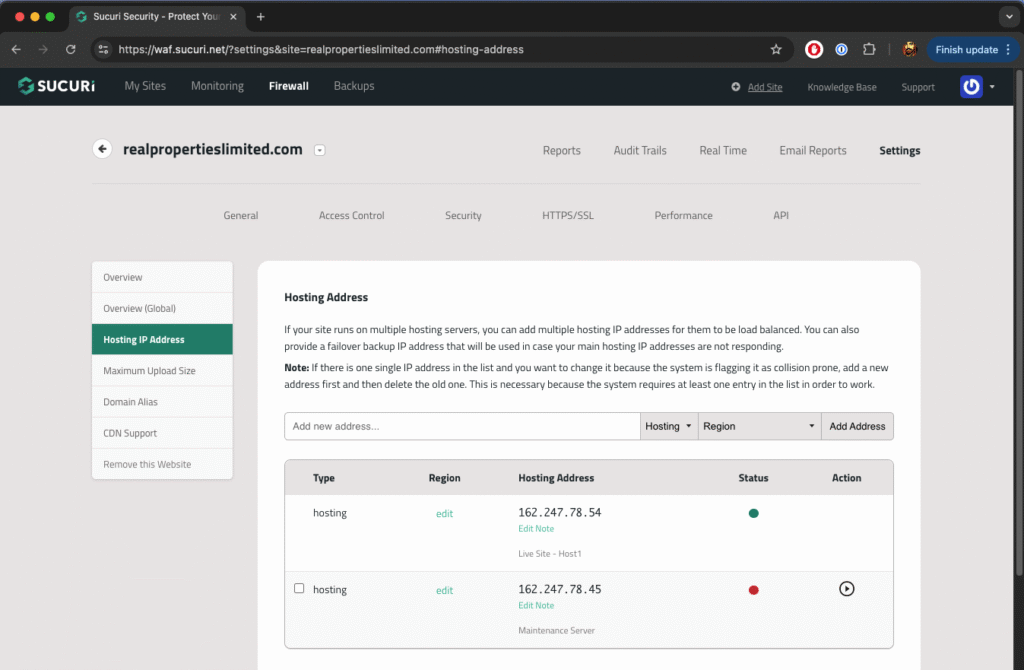
Select “Maintenance Server”
You’ll see a table with a column on the right called “Actions”, click on the play button for the “Maintenance Server” row.
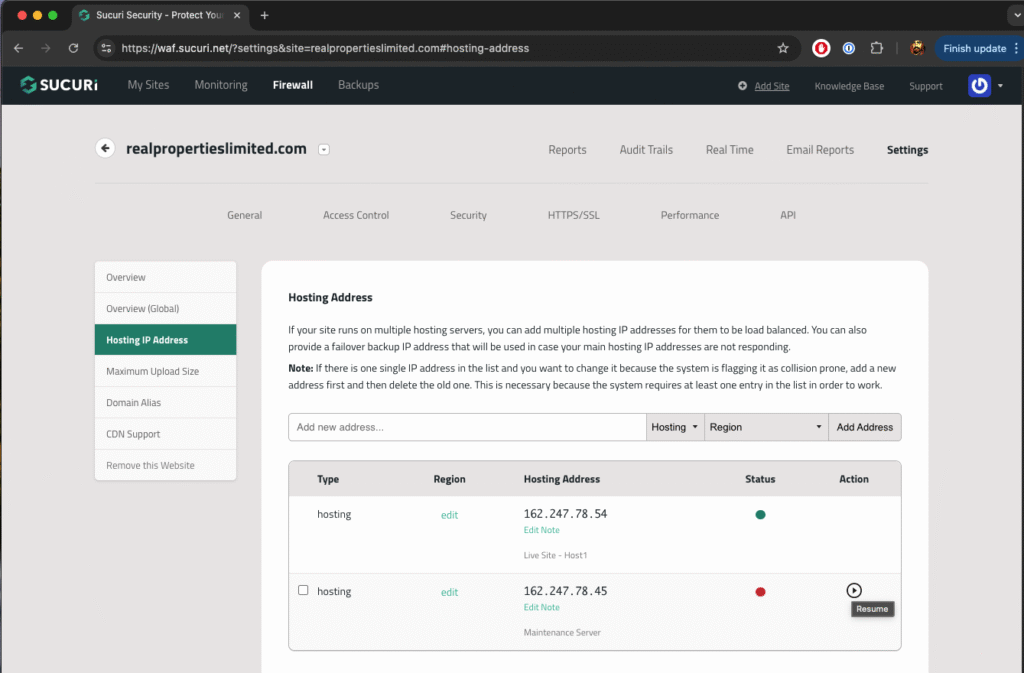
Pause “Live Site”
Now that the “Maintenance Server” is running, you’ll now want to pause the “Live Site” by clicking the pause button on the action column for the live site.
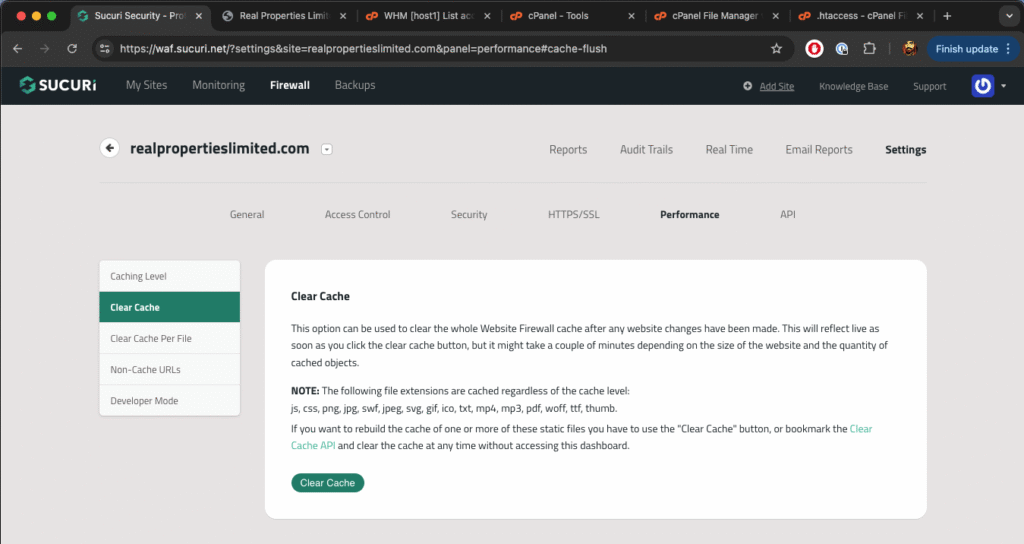
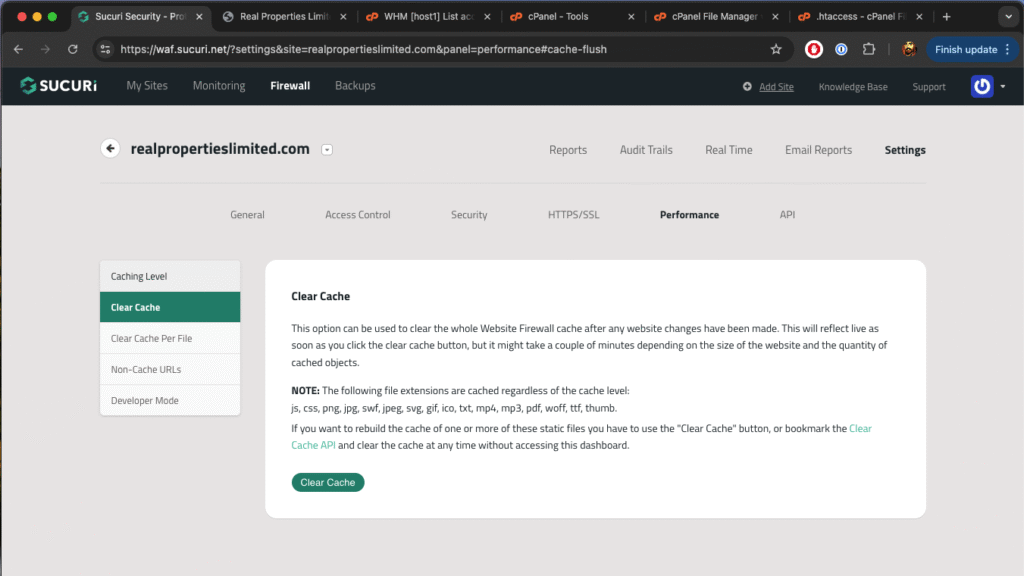
5.1- Flush Sucuri WAF Cache
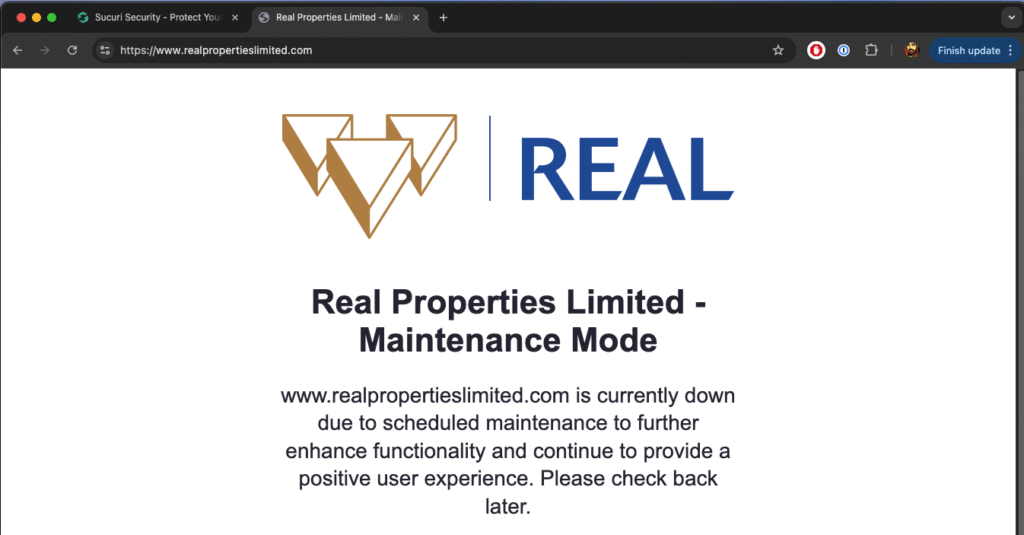
6 – Validate Maintenance page displays
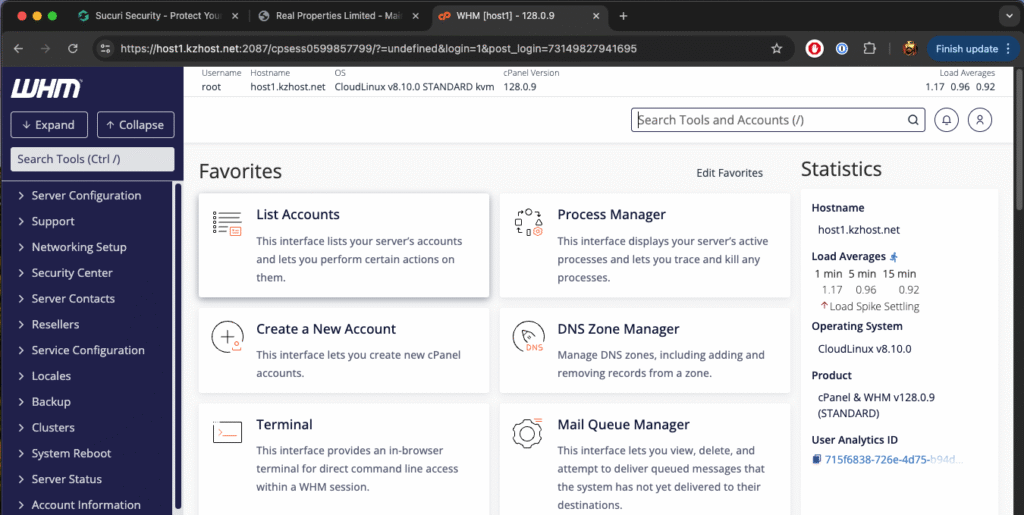
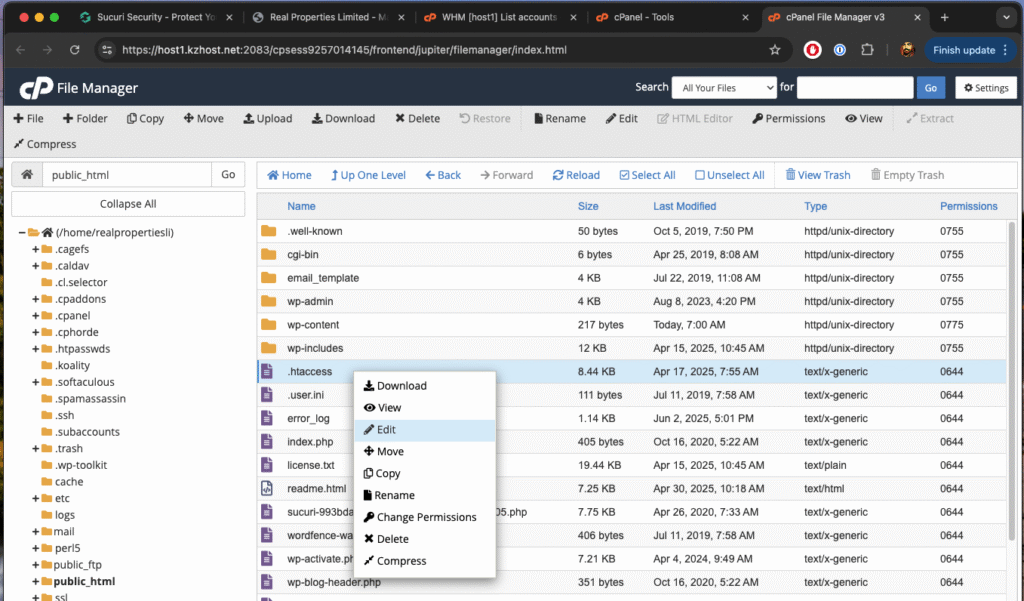
7 – Edit the .htaccess file within the live site cPanel
8
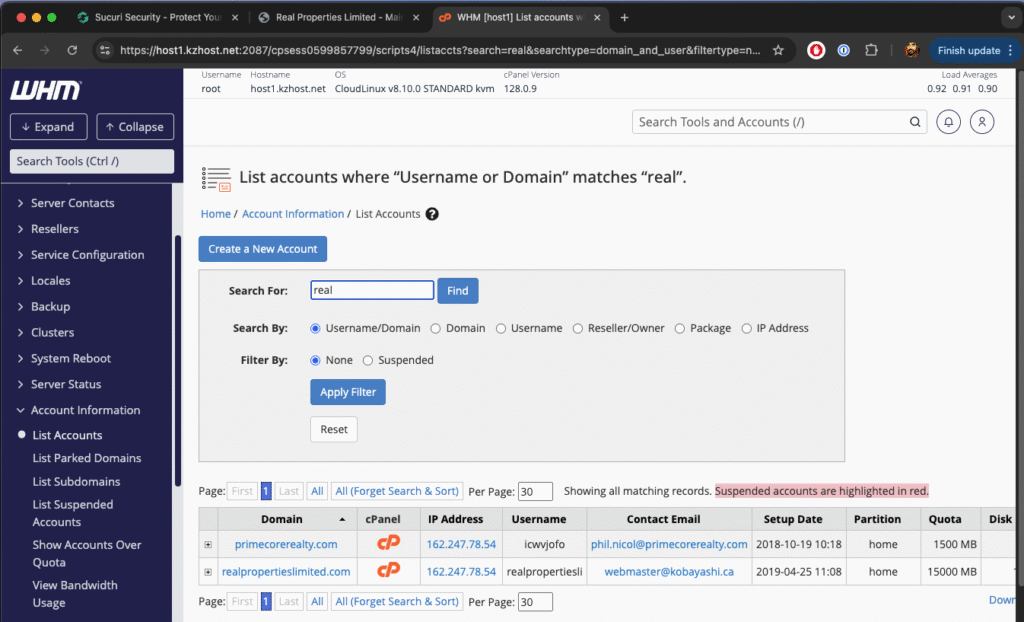
9
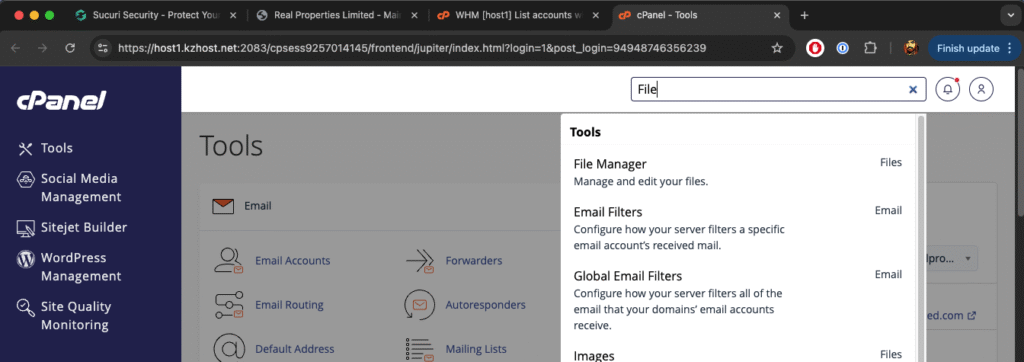
10
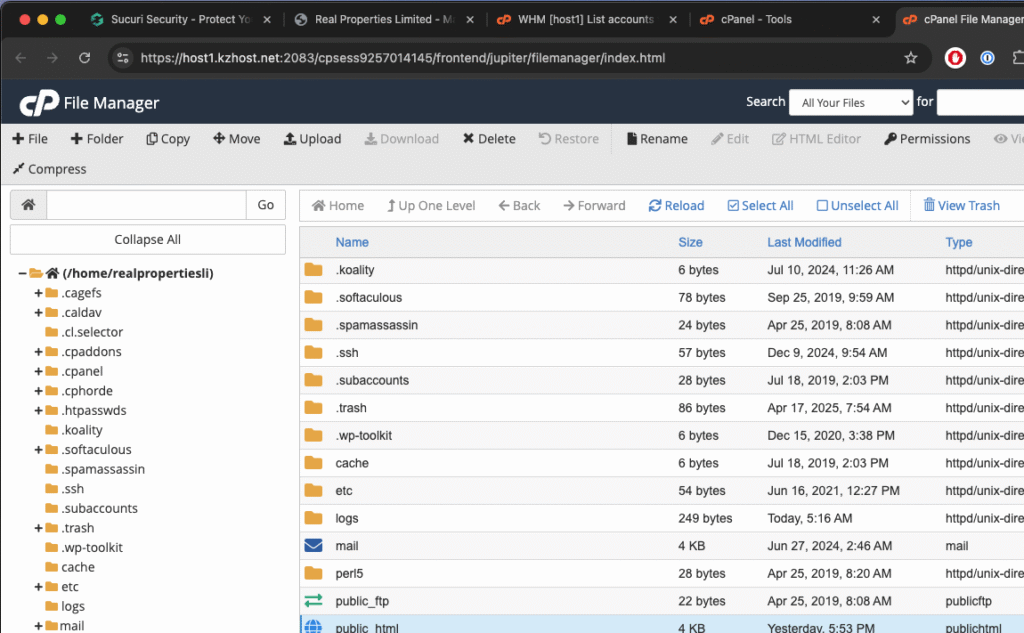
11
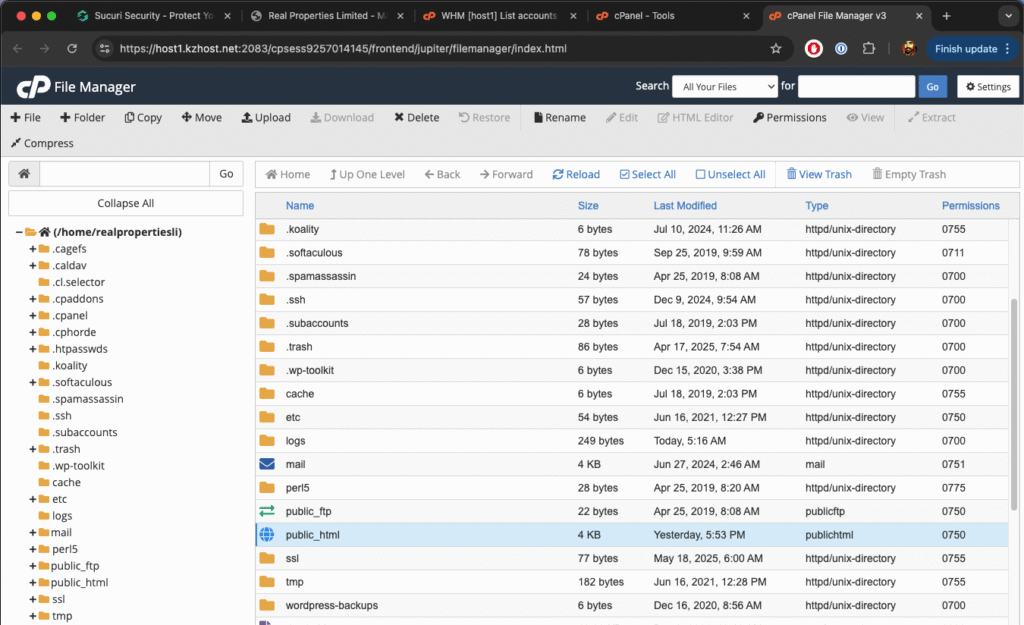
12
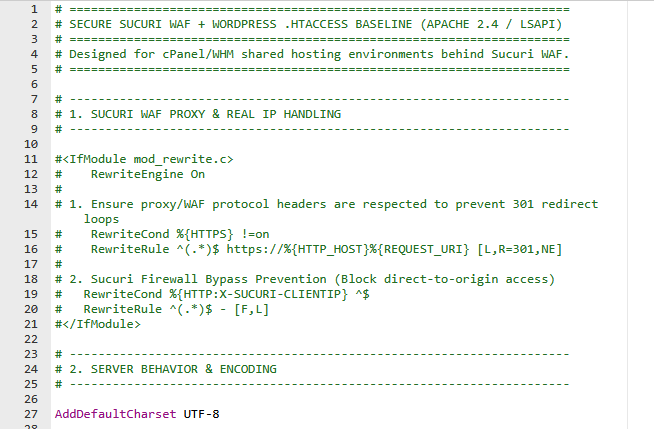
13 – Comment out the entire first section
14 – Clear cache so the Sucuri WAF picks up the new .htaccess file
15 – Ater the deployment is complete, revert the changes to the .htaccess file, hosting IP addresses, and clear Sucuri cache one final time
